
TM 5-3805-248-23-1
ELECTRICAL GENERAL MAINTENANCE INSTRUCTIONS - CONTINUED
0018 00
ELECTRICAL SYSTEM COMPONENTS AND WIRING - CONTINUED
WARNING
Before removing any component of electrical system, ensure VEHICLE MASTER POWER switch is set to
OFF. You can get electrical burns if power is on.
g.
Clean dirt, grease, dust and old compounds off cable harnesses and parts by dipping them into container filled with
cleaning compound. Shake parts in compound or wipe them clean in lint-free cloth. Clean dirt, grease and dust
from recessed areas with acid-swabbing brush or lint-free cloth. Dry components completely with low pressure, 25
to 30 psi (172-207 kPa), dry compressed air or with a clean, lint-free cloth.
h.
Remove rust from parts other than connector parts by scraping, wire brushing or both. If rust damage is too great or
is on small thin parts that would be weakened by rust, you may need to replace the part. Find the cause of the rust
and correct the problem.
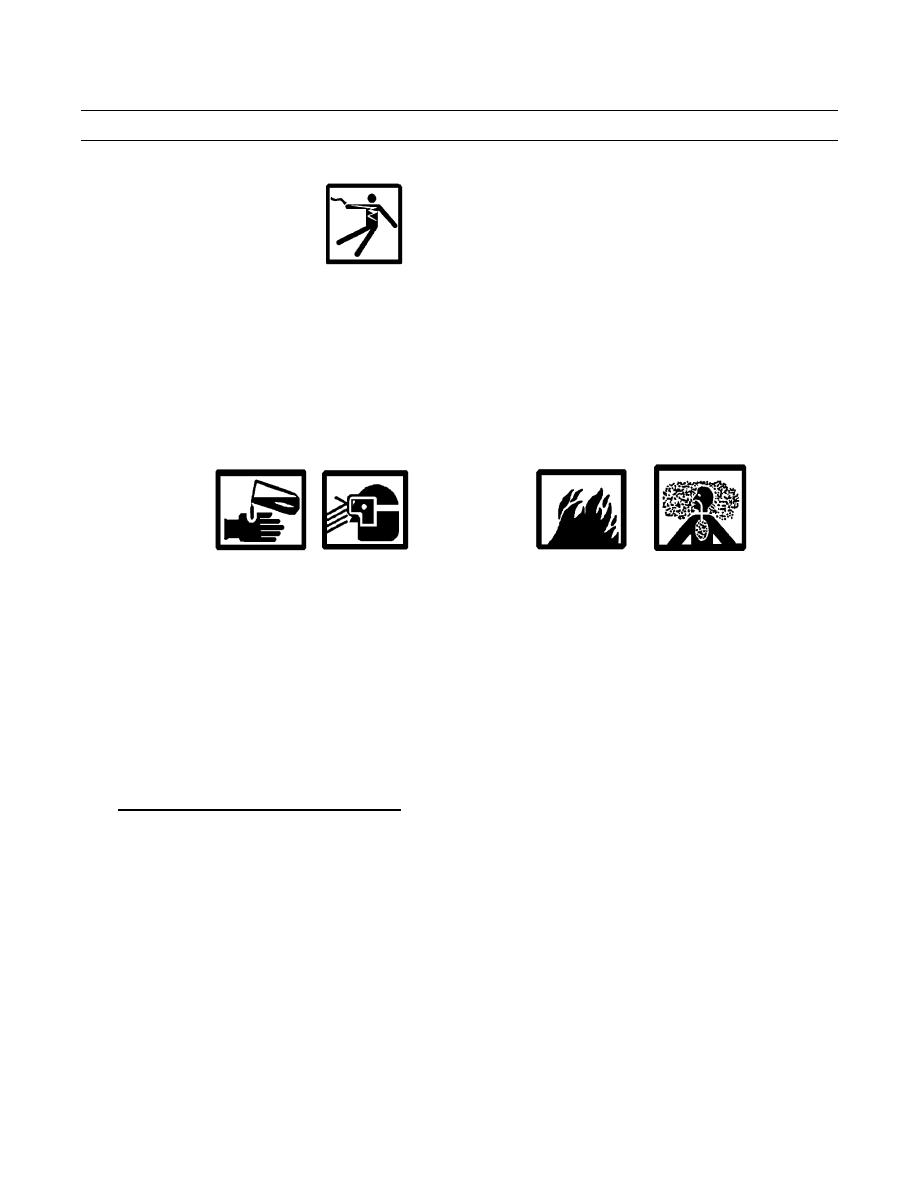
WARNING
Solvent cleaning compound MIL-PRF-680 Type III is an environmentally compliant and low toxic
material. However, it may be irritating to the eyes and skin. Use protective gloves and goggles. Use in
well-ventilated areas. Keep away from open flames and other sources of ignition.
Particles blown by compressed air are hazardous. DO NOT exceed 15 psi (103 kPa) nozzle pressure
when drying parts with compressed air. Use a maximum of 30 psi (207 kPa) when cleaning compo-
nents. DO NOT direct compressed air against human skin. Failure to follow this warning may cause
injury or death. Make sure air stream is directed away from user and other personnel in the area. To pre-
vent injury, user must wear protective goggles or face shield.
i.
Threaded holes in metal must be thoroughly clean when sealing compounds are used to lock screws in place. Take
off old preservative or sealing compounds from threads with tap and tap wrench. Blow loose particles out of holes
with compressed air, then clean threads with solvent cleaning compound and brush. Let holes dry before putting in
screws.
Replacing Electrical Wiring or Components.
3.
a.
Always look carefully at equipment for likely signs of trouble while doing routine work. Tie down any harness that
is free to move and rub against metal. If you look for possible trouble spots and make repairs at once, you can cut
down on repair time and extra work. Replace any harness or harness wires that have splits, tears or worn spots. If
troubleshooting isolates a broken harness, replace that harness.
b.
Replace broken or torn instrument or gage lenses.
c.
Replace damaged or cross-threaded screws and nuts. Check for torn or stretched gaskets and leaks.
d.
Replace any burned-out lamps or fuses. If you cannot replace a lamp or fuse right away, tag it and go back to it
later.
e.
Tighten all loose parts. Use correct torque values when tightening screws and nuts. Straighten bent parts where
possible and check for cracks. Replace all missing parts.
f.
Ensure ground points in electrical system are kept clean, free of corrosion and tight.
g.
Check mountings, parts and shafts for proper alignment.
0018 00-3

