
TM 5-3805-248-23-1
AIR HORN REPLACEMENT - CONTINUED
0218 00
ASSEMBLY
1.
If removed, install new grommets (26 and 27) on projectors (24 and 25).
NOTE
All parts furnished in diaphragm kit will be used to replace like parts discarded during disassembly. Entire
diaphragm kit will be used.
2.
If removed, install new projectors (24 and 25) on horn (18).
3.
Install two diaphragms (19) in housing (18).
4.
Install two new gaskets (20).
5.
Install two adjusting discs (21) with rims down, center two adjusting discs (21) on diaphragms (19).
6.
Install two covers (22) and six screws (23). Tighten screws evenly.
7.
Install bracket (13) and two clamps (15) in air horn assembly (9).
8.
Install two bolts (14), new lockwashers (16) and nuts (17).
INSTALLATION
NOTE
Apply anti-seizing tape half way up the threads of all hose and fitting connections prior to installation to
ensure correct sealing.
1.
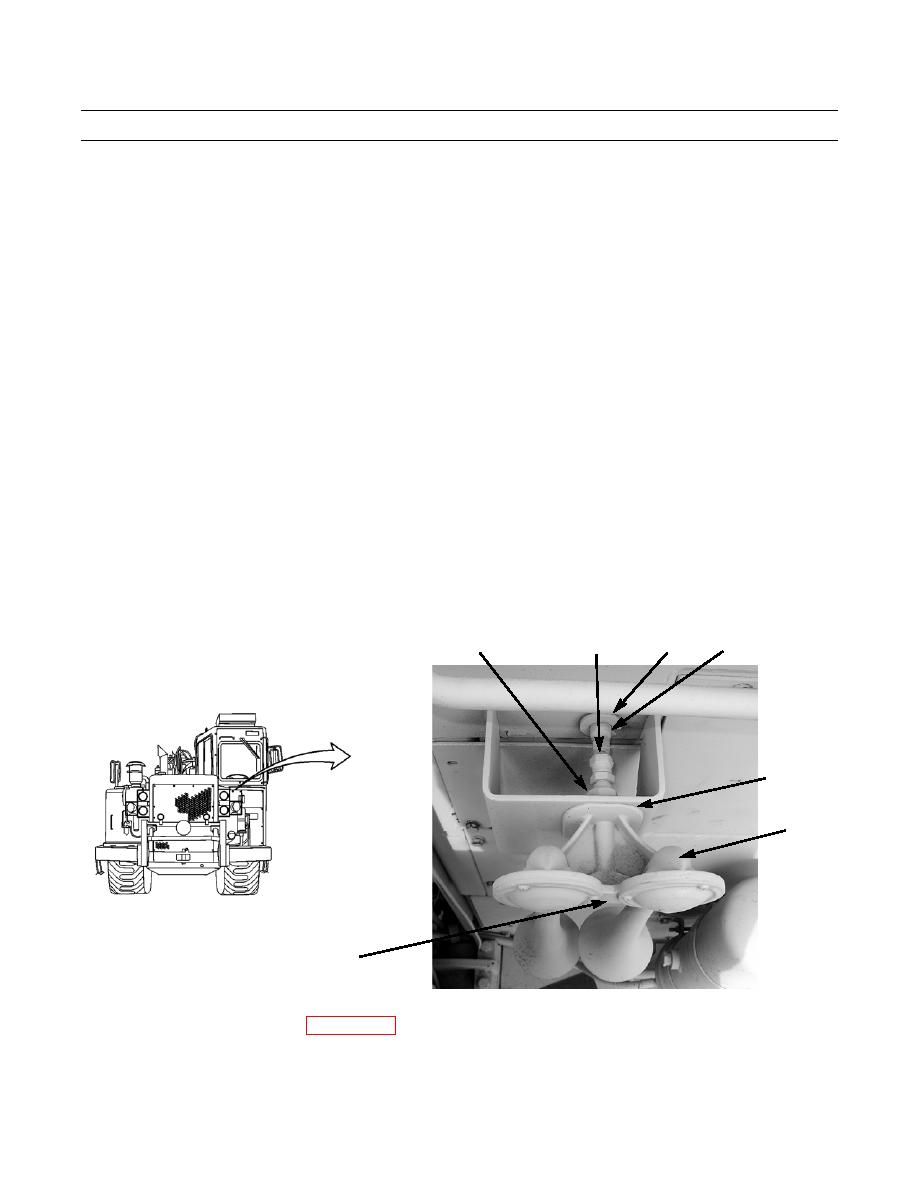
Install pad (8) and horn assembly (9) on machine.
2.
Install bolt (10), new lockwasher (11) and nut (12) on horn assembly (9).
3.
Install washer (1) and adapter (2) on air horn assembly (9).
4.
Install new lockwasher (3) and nut (4) on adapter (2).
5.
Install reducer (5) and connect to hose assembly (7).
1,2,3,4 (HIDDEN)
5
7
6
8
(HIDDEN)
9
10,11,12 (HIDDEN)
394-394
6.
Operate air horn to verify correct operation (TM 5-3805-248-10).
7.
Install upper front access plates (WP 0192 00).
END OF WORK PACKAGE
0218 00-3/(-4 blank)

