TM 5-3800-205-23-1
INJECTOR SYNCHRONIZATION, FUEL SETTING, AND FUEL TIMING - CONTINUED
0140 00
FUEL TIMING
NOTE
If rocker arm assemblies are removed and installed prior to performing this procedure, rotate crankshaft two
complete revolutions to allow rocker arms to properly seat on injectors before performing this procedure.
1.
Position no. 1 piston at TCP.
2.
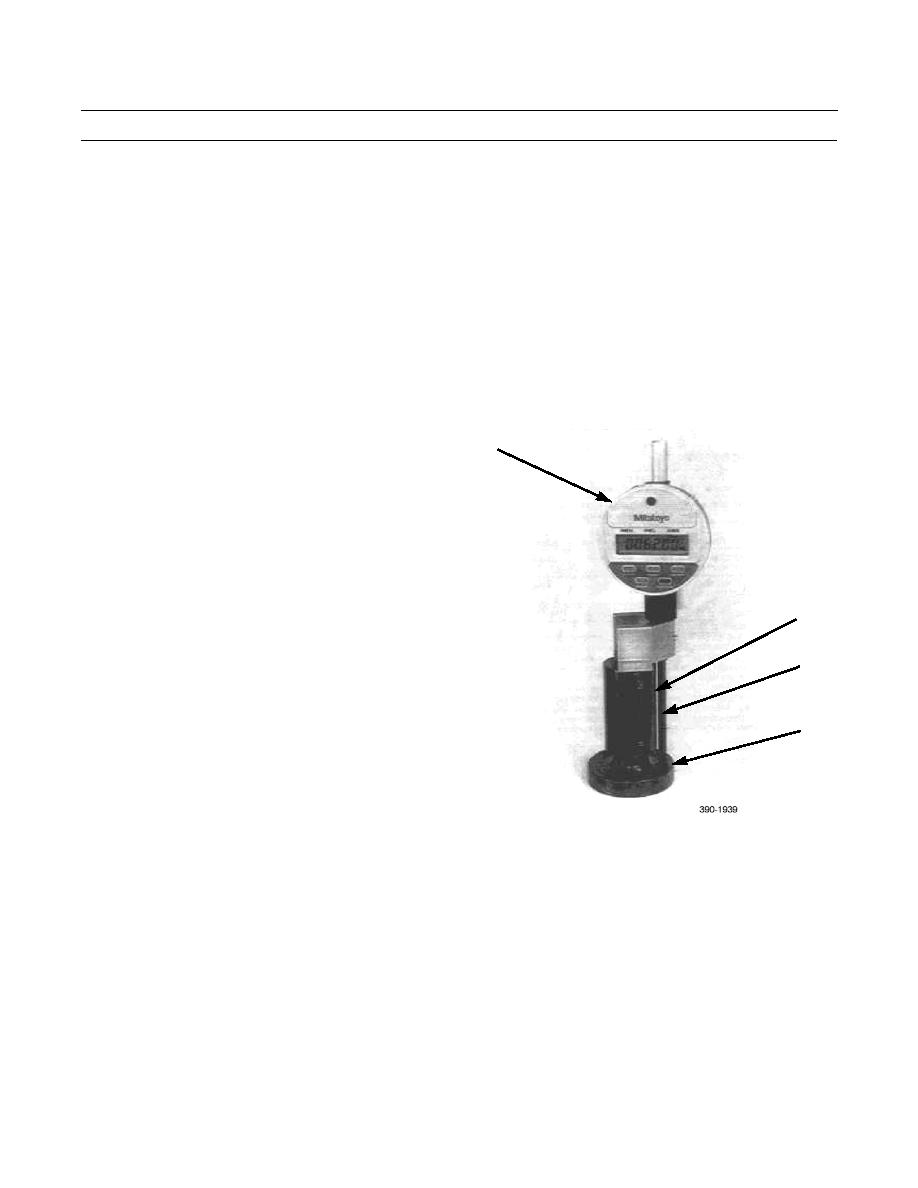
Calibrate digital position indicator as follows:
a.
Turn indicator (35) ON.
b.
Press IN/MM button until display indicates millimeters.
c.
A negative sign (-) should be indicated under
35
REV. If space if blank, press "+" button until dis-
play indicates (-).
d.
Press and hold PRESET button until a flashing
"P" appears in upper right corner of display.
Release button.
e.
Press and hold PRESET button until "P" stops
flashing, and a flashing indicator bar is observed
in lower left corner of display. Release button.
36,37
Momentarily pushing PRESET button will cause
a minus sign to appear or disappear above the
38
flashing indicator. Use PRESET button to make
this position blank.
f.
Press and hold PRESET button until flashing
39
indicator begins to flash under first number posi-
tion (fourth position to left of decimal), then
release button. Momentarily pressing PRESET
button will cause display number in that position
to change. Use PRESET button to make position
indicate zero.
g.
Press PRESET button to move flashing indicator and change display numbers until display indicates 0062.00 mm.
h.
Press and hold PRESET button until flashing "P" appears in upper-right corner of display and then release button.
Momentarily press PRESET button so flashing "P" and zeros to left of 62.00 mm disappear.
i.
To recall preset number, repeat steps a through d above, then momentarily press PRESET button so flashing "P"
and zeros to left of 62.00 mm disappear.
j.
Turn indicator (35) OFF. Indicator will retain preset number in memory. Ensure indicator plunger is extended out
all the way. To recall preset number, repeat steps a through d above, then momentarily push PRESET button so
flashing "P" and zeros to left of 62.00 mm disappear.
3.
Install 85 mm long contact point (36) on indicator stem (37).
0140 00-22


