TM 5-3800-205-23-1
FUEL INJECTOR CONTROL LINKAGE REPLACEMENT - CONTINUED
0138 00
INSTALLATION
7
4
6
8
5
11
9
10
1.
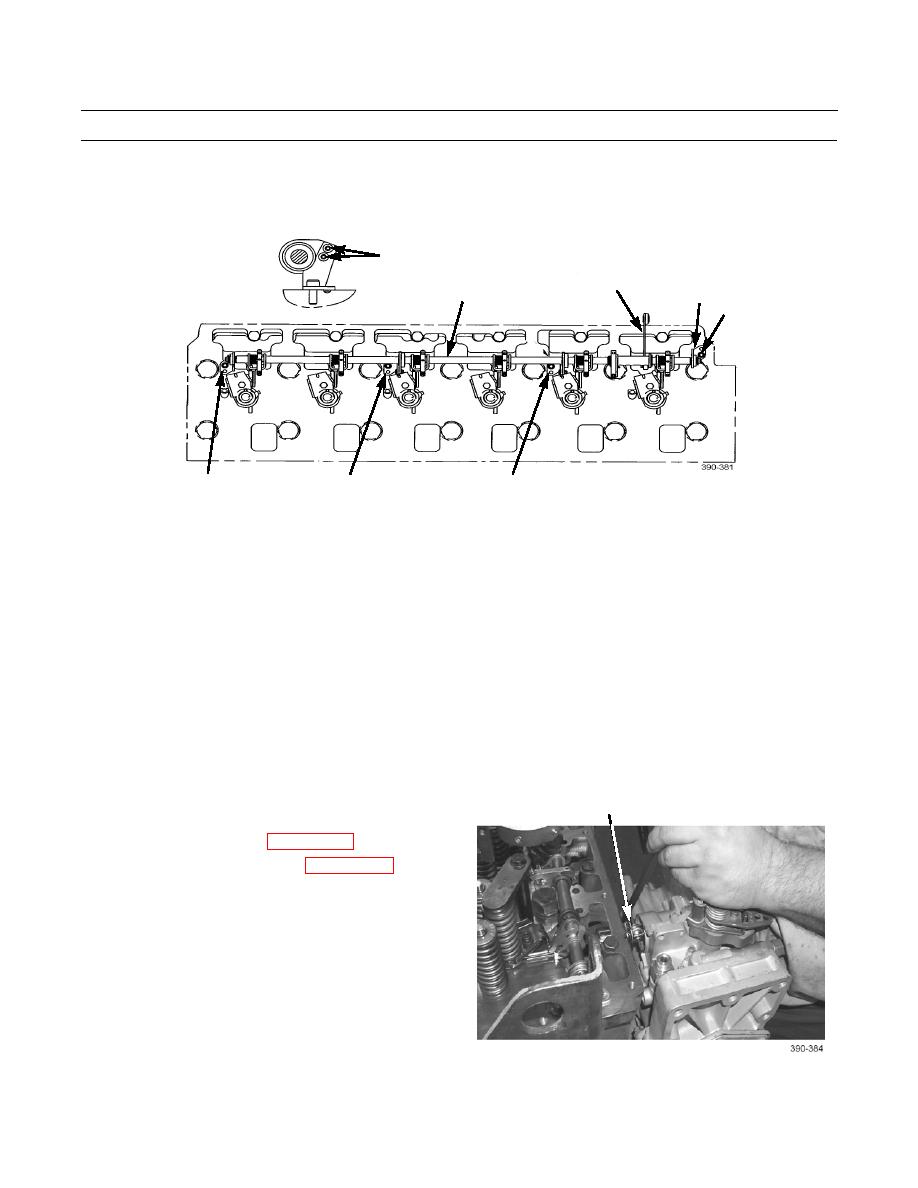
Loosen two setscrews (7) on each bracket.
2.
Install fuel injector control linkage (6) and install socket head capscrews (5). Use the following sequence in order to
tighten socket head capscrews.
3.
Tighten socket head capscrews (5) at brackets (8 and 11) to 106 lb-in. (12 Nm).
4.
Tighten socket head capscrews (5) at brackets (9 and 10) to 106 lb-in. (12 Nm).
5.
Position brackets (9 and 10) in order to allow free rotation of fuel control rod.
6.
Use a 0.10 in. (2.5 mm) wrench to tighten two setscrews.
7.
On each bracket, tighten setscrews to 31 lb-in. (3.5 Nm). Do NOT overtighten setscrews.
8.
Ensure that control rod rotates freely. Control rod should rotate freely when a force of 1 lb (4.4 N) or less is applied to
control lever (4).
9.
Secure control lever (4) to governor with clevis pin (3)
3
and clip.
10.
Install fuel unit injectors (WP 0139 00).
11.
Check injector synchronization (WP 0140 00).
0138 00-3


